
 100% Security Verified | No Subscription Required | No Malware


Using the audio crossfade feature is a mandatory technique for anyone who does any form of audio production. It is also very common in video editing jobs as well, because a good video needs good audio. That’s why we are exploring the audio crossfade function in Apple’s Final Cut Pro, which is a powerful video editing tool for Apple devices.
Let’s see how to do this in this software. You should also stick around until the end of the text to find out about a much more straightforward approach.
In this article
Use the Crossfade Transition Effect in FCP - Step-by-Step Instructions
We have prepared a short guide that will help you add audio crossfade between two video clips. The guide is the same for audio clips as well. Before you begin, make sure that Final Cut Pro is installed on your Mac. Open it, and add two video files to the timeline.
Step 1: Make sure that both clips are selected. You can select them with your mouse like in the screenshot below.

Step 2: Now, go to Modify > Adjust Audio Fades > Crossfade.

Step 3: You can now double-click on both media files to get a timeline display like in the screenshot below. You can then review the audio crossfade effect.

Notice how the volume of the first video goes down and is extended to the right and how the volume of the second video slowly goes up and is extended to the left. That’s exactly how the audio crossfade feature works. It blends two audio files to make the transition between them smooth and unnoticeable.
All this is rather easy to do in Final Cut Pro, but some advanced features are tough to master. Also, this program is only available for Apple users, so if you don’t have an Apple device, you are out of luck.
Thankfully, there is another option. We would like to introduce you to Filmora, an excellent, intuitive, easy-to-understand video editing solution with powerful features for video, audio, and image editing. It is available for both Windows and Mac devices, and you can use it on Android and iOS as well.
Explore Filmora’s Huge Library of Audio Editing Features

Powerful AI video editor for all creators


Wondershare, the company behind Filmora, is famous for releasing well-developed, versatile tools that can perform many functions. Filmora is no different. Even though its main function is video editing, it offers enough audio editing features to render the use of a different audio editing tool redundant while working in Filmora.
You can find basic features like adding fade-ins and fade-outs, trimming, and adjusting the pitch, as well as advanced features like auto-normalization, equalization presets, and beat detection. On top of that, you have AI features like generating background music (Smart BGM Generator) and transforming audio into video (AI Audio to Video).
Let’s take a look at how to use audio crossfade in Filmora.
How to Apply the Audio Crossfade Effect in Filmora - The Straightforward Approach
Go to Filmora’s official download page and install the software on your device. Please note that we will use a Windows device for this tutorial, but the steps are the same if you are behind an Apple device.
Step 1: Launch Filmora and create a New Project.
 secure download
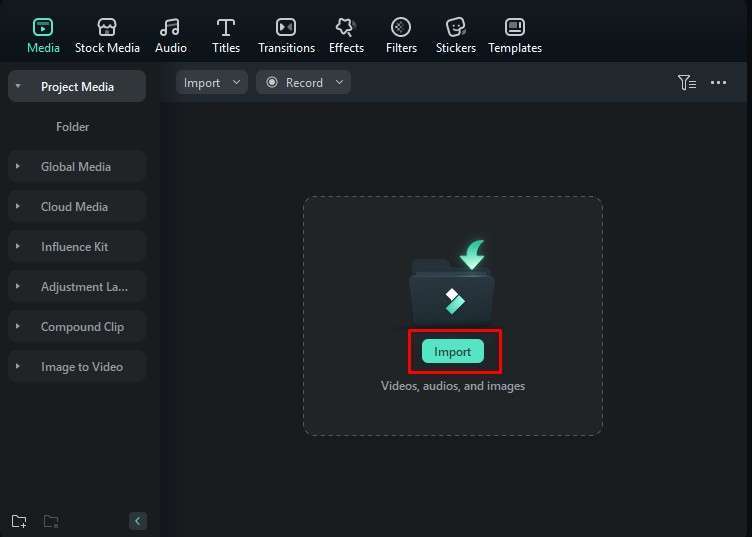
Step 2: Click on the green Import button and add two audio files to the project.
Step 3: Drag those two files to the timeline, and place them in the same audio channel, one after the other.
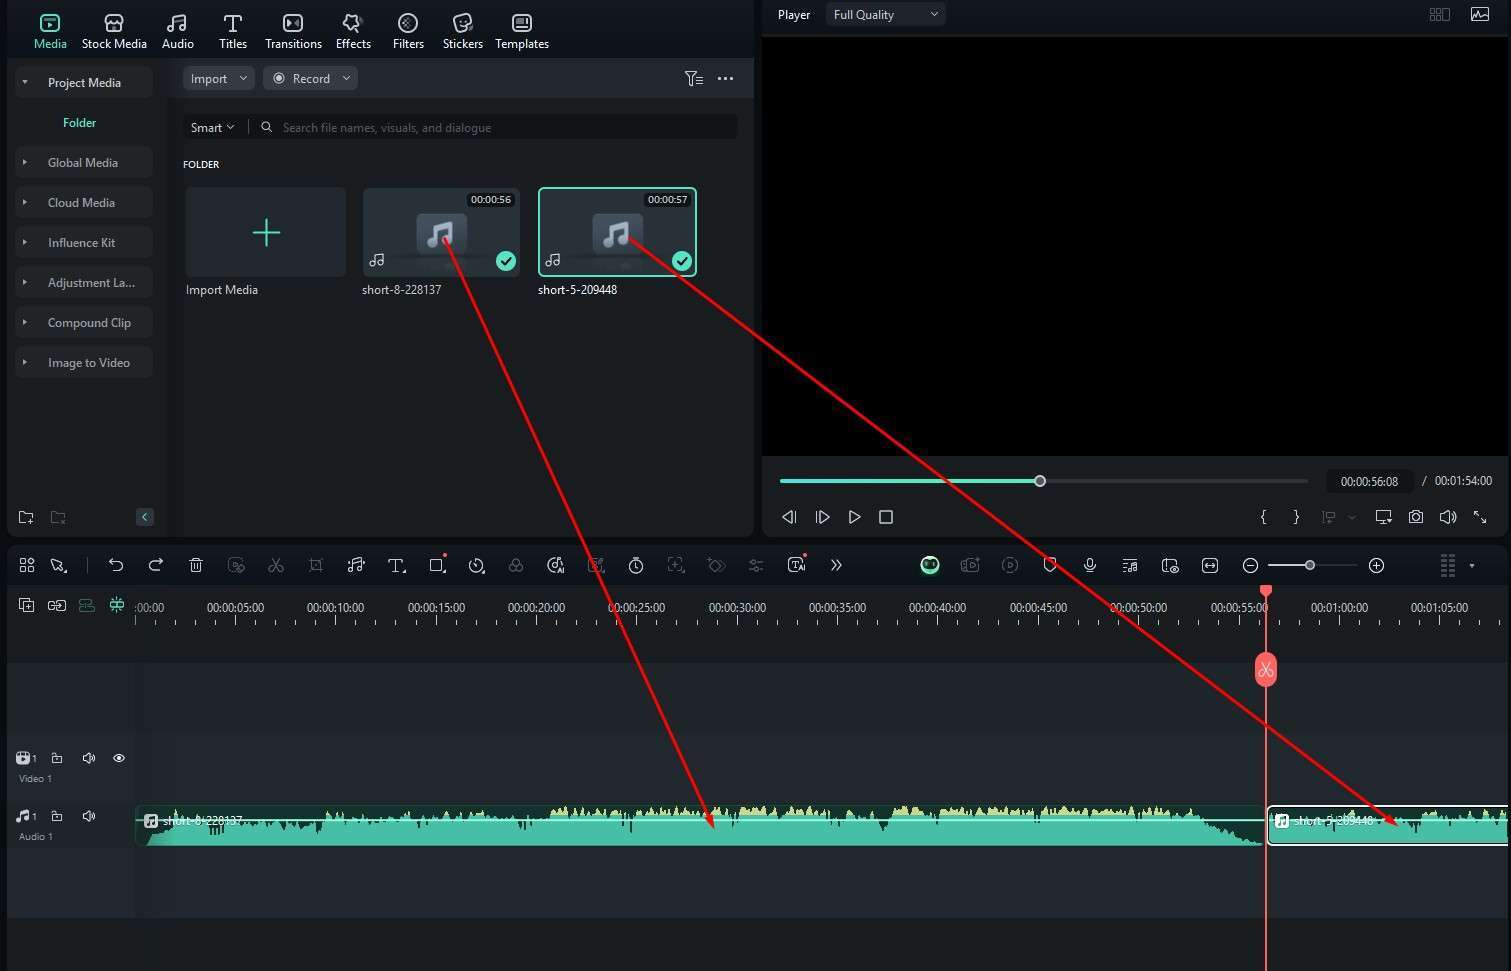
Step 4: Find the Transitions tab in the upper-left, and then select Audio Transitions to find the Exponential Fade transition effect. Then, drag it to the timeline between the two audio files. You can adjust the duration and aspects of the effect on the right.

As you can see, the process is more or less the same in both tools. The good thing about Filmora is the AI features, and we’ll explore a few of them in the following section.
Use AI to Enhance Your Audio
Filmora is one of the top tools on the market when it comes to AI features. Exploring all of them would be nearly impossible, so we’ll focus on three cool AI audio features. You can explore the rest at your leisure.
AI Sound Effect
Imagine working on a video, and you are missing a sound effect that will complete the scene. Instead of having to record it, you can explain what you want to Filmora and use the results provided.
Step 1: Find the Audio tab, click on AI Sound Effect, type a prompt, and click on Generate.

Step 2: Review the results provided.

Smart BGM Generation
Imagine that you have a video without music and want to add some background music quickly. With Filmora, you can do it in minutes.
Step 1: When you open Filmora, click on Toolbox and find the Smart BGM Generation feature. Click there, and then select a video file that lacks background music.

Step 2: Filmora will open a new project, and you just need to click on Start.
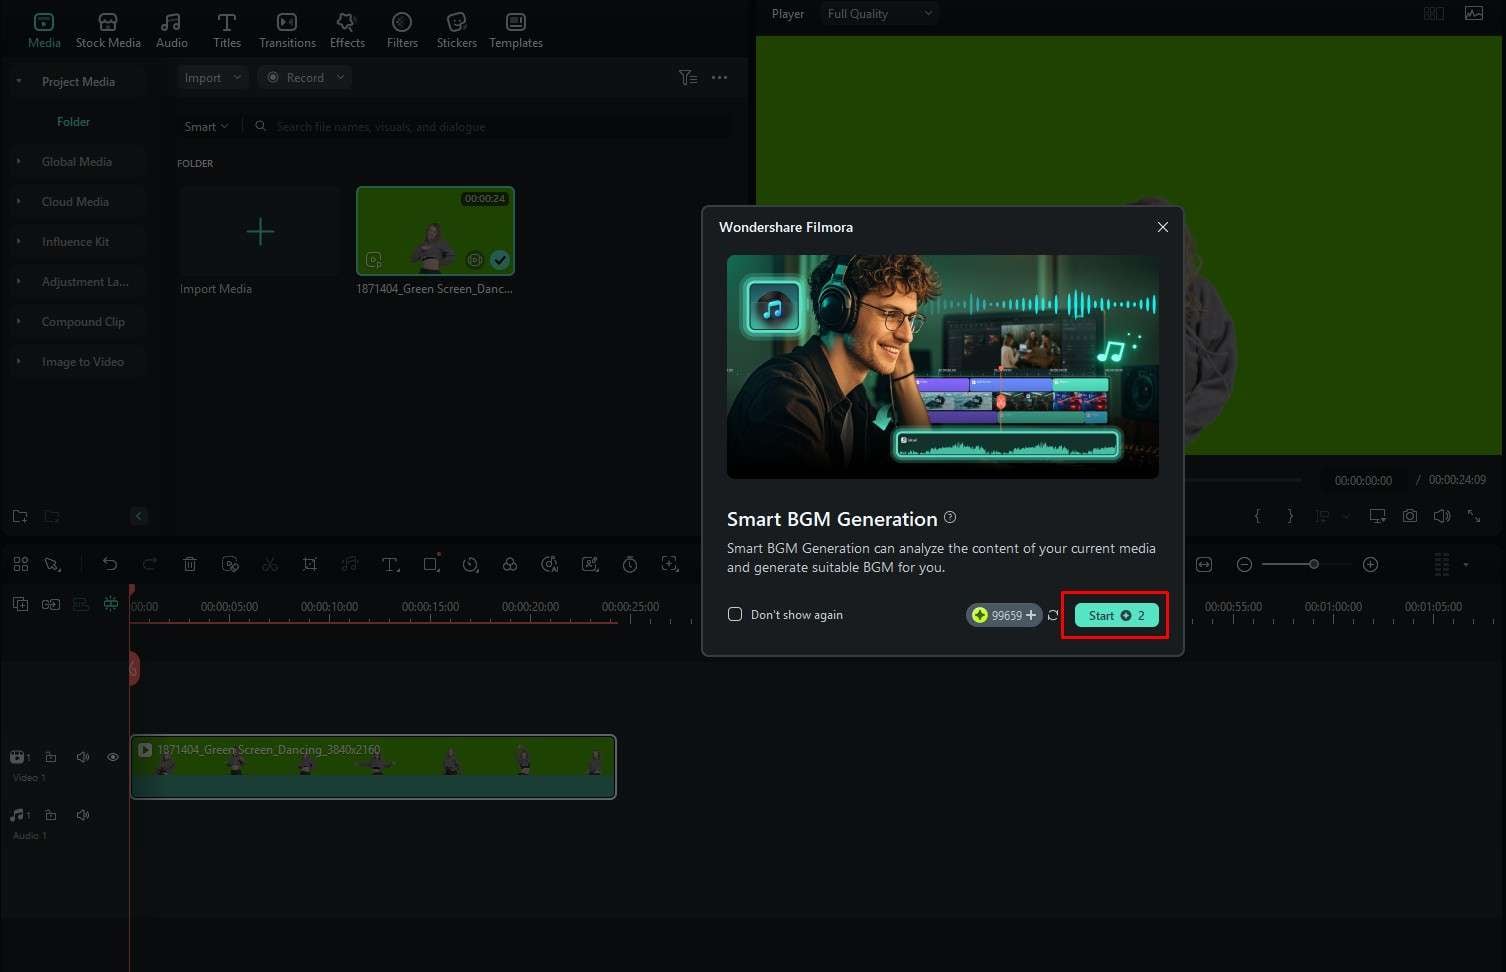
Step 3: Review the audio track that’s been added below the video in the timeline.

AI Voice Enhancer
If you are recording a conversation or a monologue with a sub-par microphone in a crowded area, you will need something to isolate the vocal track. That’s where the AI Voice Enhancer comes into play.
When you click on any audio file in the timeline in Filmora, you will notice some options on the right side of the screen. There, you will find the AI Voice Enhancer, and you simply have to turn it on.

We have discussed Filmora’s audio features extensively, but let’s now discuss video editing a bit.
You Can Also Use Filmora’s Video Editing Features
As mentioned, Filmora is primarily a video editing tool, and it is no wonder that some of its best features are connected to video editing. Besides the basic features like splitting, trimming, zooming, panning, changing the playback speed, and adding freeze frames, there are also advanced options like multi-clip editing, animation keyframing, and applying masks.
Let’s not forget the extensive library of transitions, effects, filters, and stickers. And all this is backed by AI features that streamline the workflow. Since the list of AI features is rather long, we will focus on three of them here, and you can explore the rest when you start using Filmora.
- AI Video Enhancer: Click one button to instantly improve the quality of your footage by changing the resolution, frame rate, and color scheme.
- AI Object Remover: This tool allows you to select unwanted objects in a scene and remove them with AI in minutes.
- AI Image: Generate images using prompts in a few clicks. The tool will offer several results for one prompt, so you can pick the one you like best.
Conclusion
If you own an Apple device, Final Cut Pro is certainly a good choice for video and audio editing. However, if you want to go a step further and explore a different tool, then this article proves that Filmora is certainly worth your time. Download it and see it in action. If you are a beginner in the video and audio editing industry, it can serve as an excellent starting point.

