
 100% Security Verified | No Subscription Required | No Malware


The audio quality in TikTok and YouTube videos isn't always great, and it can be difficult to make out what someone is saying. There can be background noise, music, and the presenter may just be talking fast or a bit too quietly.
That's why it's a good idea to have captions, but transcribing videos manually takes a lot of time and effort that could be better spent making more creative videos. Well, you can always ,use Final Cut Pro to generate auto-captions.
Today, we will go over all the steps you need to take to create FCPX auto captions, and if you stick around until the end of the article, you will see a bonus tip to add AI captions to videos on your phone.
In this article
Part 1. What are the Benefits of Adding Automatic Subtitles in Final Cut Pro?
Let's start by briefly mentioning some of the reasons why you should be using captions in your videos and how adding auto captions in Final Cut Pro makes this process a breeze.
- Better Accessibility: Some people watching your videos may be hearing-impaired or deaf, and having subtitles allows them to follow along.
- Reach Out to an International Audience: Those who speak English as a second language can have an easier time making out some words and phrases if they are written down.
- People can watch your movies with the sound off: If it's late at night or someone is in a public space and forgot to bring their earphones, they will want to mute the sound or have it really low, and captions are a lifesaver here.
In general, having captions is a great way to ensure everyone can understand what is being said, so we should take a look at how to use the right features and add them with minimal effort.
Part 2. How to Use Final Cut Pro Auto Caption
Final Cut Pro is one of the more popular video editing tools on the market today, and it can give you a more accurate transcription than YouTube's auto-generated captions, for example. Here is a quick rundown of how to set it up:
Step 1: Open the software and go to File > Import > Media. Then, choose the video to which you want to add titles. You can also drag a video from the Finder to the timeline.

Step 2: Right-click the video on the timeline and click on Transcribe to Captions.

Step 3: When the transcriptions are ready, use the command Shift+Option+Z to bring up all the layers on the timeline.
Step 4: You can now select each separate section and, in the upper right, edit the Caption text, choose Bold or Italic text, and change the color.

Step 5: When you click on one of the sections, you can then use Command+A to select all the captions and make changes to all of them at once (for example, change the color).


Step 6: The captions may not get the names of items and products or similar things quite right, so you will have to make small edits manually if you want to get it to be as accurate as possible.

Step 7: When you're done, go to save the video. Under Settings, you can choose the format and location.

Step 8: You can also choose to burn the captions into the video.

Step 9: Proceed to choose the Image name and click Save to finish.

The final results will work well enough, but there are a few drawbacks to using Final Cut's automatic subtitles:
While these limitations might be acceptable for some editors, creators who need multilingual support, faster workflows, or more customization options may want to explore alternative solutions.
Part 3. A Much Easier Alternative to FCPX Auto Captions
If you were looking for a more beginner-friendly video editor that still has plenty of powerful features and can make your videos look like they have serious production quality behind them, Wondershare Filmora is the perfect choice.
It's available on macOS and Windows, and is much easier to use, with most features being drag-and-drop. This video editor also has an extensive AI Toolbox that can help creators working on a budget really get the most out of their content.
 secure download

Generate AI Captions in Filmora
There are more features to explore, but let's focus on adding titles first. The easiest way to get captions is to use the Speech-to-Text feature to generate AI captions, which is a very simple process.
Step 1: Open Filmora and start a New Project.
Step 2: Click on Import Media to add a video, and then drag it down to the timeline.

Step 3: Go to Titles > AI Captions and look for the Speech to Text feature, then click Transcribe.

Step 4: You can select the language and whether a translation is needed, then click Generate. It will add subtitles for the whole duration of the video.

Step 5: You can also go to Titles > AI Captions > AI Translation if you want AI to translate the video and add captions in any of the available languages.
Step 6: Alternatively, Titles > AI Captions > Dynamic Captions will automatically match the dynamic effects added to the text with the rhythm of the audio, highlighting the words as they are spoken.

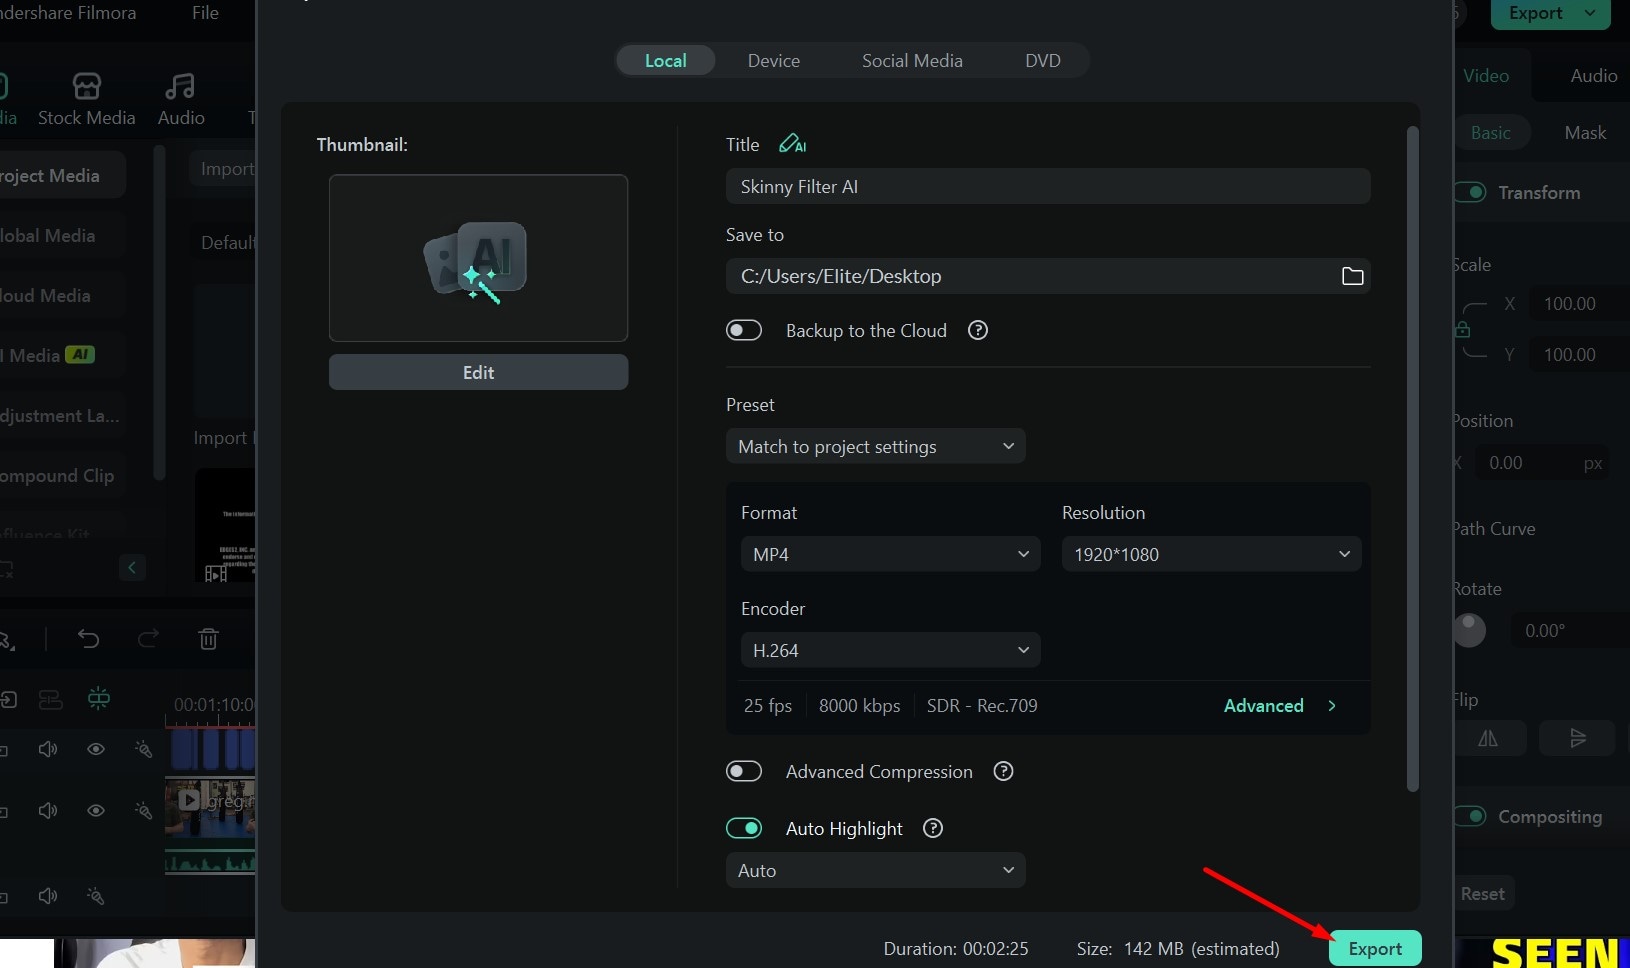
Step 7: When you are done, click Export to save the project.
Provide More for Your Videos
- AI Image to Video: Once you have a unique AI image, or you can take one of your own, this tool can turn pictures into a video. There are different options, like making a character dance or getting two people in an image to hug or fight, and you can essentially add custom prompts to transform the image however you like.
- Smart Short Clips: If you have a long video, like an episode of a YouTube show or a podcast, you can use this feature to automatically cut it into many smaller clips. That makes it easier to pick the best moments for social media posts, insert captions, or add a transition between different parts.
- AI Text-Based Editing: This handy little tool provides a full transcription of the video and allows you to cut out parts of the clip by deleting sections of text. That way, you don't have to play the video to listen for certain parts you want to cut – you can simply find them in the transcribed text.
secure download Part 4. Get Similar Feature to Auto Captions in Final Cut Pro on Mobile
The previous tips were great for those who like to sit down at their laptop and carefully edit their videos, but what if you just want to shoot, edit, and post a quick clip right from your phone?
Well, there is also the Filmora Mobile App, available on iOS and Android that has lots of cool effects and AI features, and is super easy to use. Here are just a few of the useful features you can use to make your videos pop.
This is a classic text-to-image generator that can turn your prompts into incredible images that you can use as cover art or video thumbnails. As long as you make sure to give a detailed description of the main subject, the surroundings, the style, and the atmosphere, you will get some incredible results.
How to Add AI Captions in Filmora Mobile
Of course, the main reason we are here is to look at adding captions to videos, so let's go over the AI Captions feature. As you will see, it only takes a few simple steps.
Step 1: Download the app and go to AI Captions.

Step 2: Select the video you want to add captions to, choose the language, or just leave the default Auto Identify setting.
- Tap Bilingual Captions
- Use AI Packaging :
- add emphasis to subtitles
- Match appropriate emoji and stickers
- Automatically track speakers and add zoom effects, etc.
Add subtitles in one more language to make your video more accessible to a wider audience.
When you are ready, tap Add Captions.

Step 3: Swipe through the available templates to find the style of text you like and tap the big blue Export button to save the video.

It's incredibly easy to quickly shoot a video, add captions, and have it ready for sharing within a minute.
secure download Conclusion
Having some text to go along with your videos is great for accessibility and helping people understand every word that you've said, and you can auto-generate captions in Final Cut Pro. However, it can be a bit tedious, and there are barely any customization options, so you may want to look for an alternative like Filmora.
The desktop version is much easier to use than Final Cut Pro and has many awesome AI features, while the mobile app has tons of customization options for on-screen text and is excellent for TikTok videos, Instagram reels, and YouTube shorts.

